Job Setup
Setting Up a Job
Jobs are the foundation of ScoutUp. Each job represents a role you're hiring for and contains everything needed to screen candidates: questions, evaluation criteria, and automation workflows.
Creating a New Job
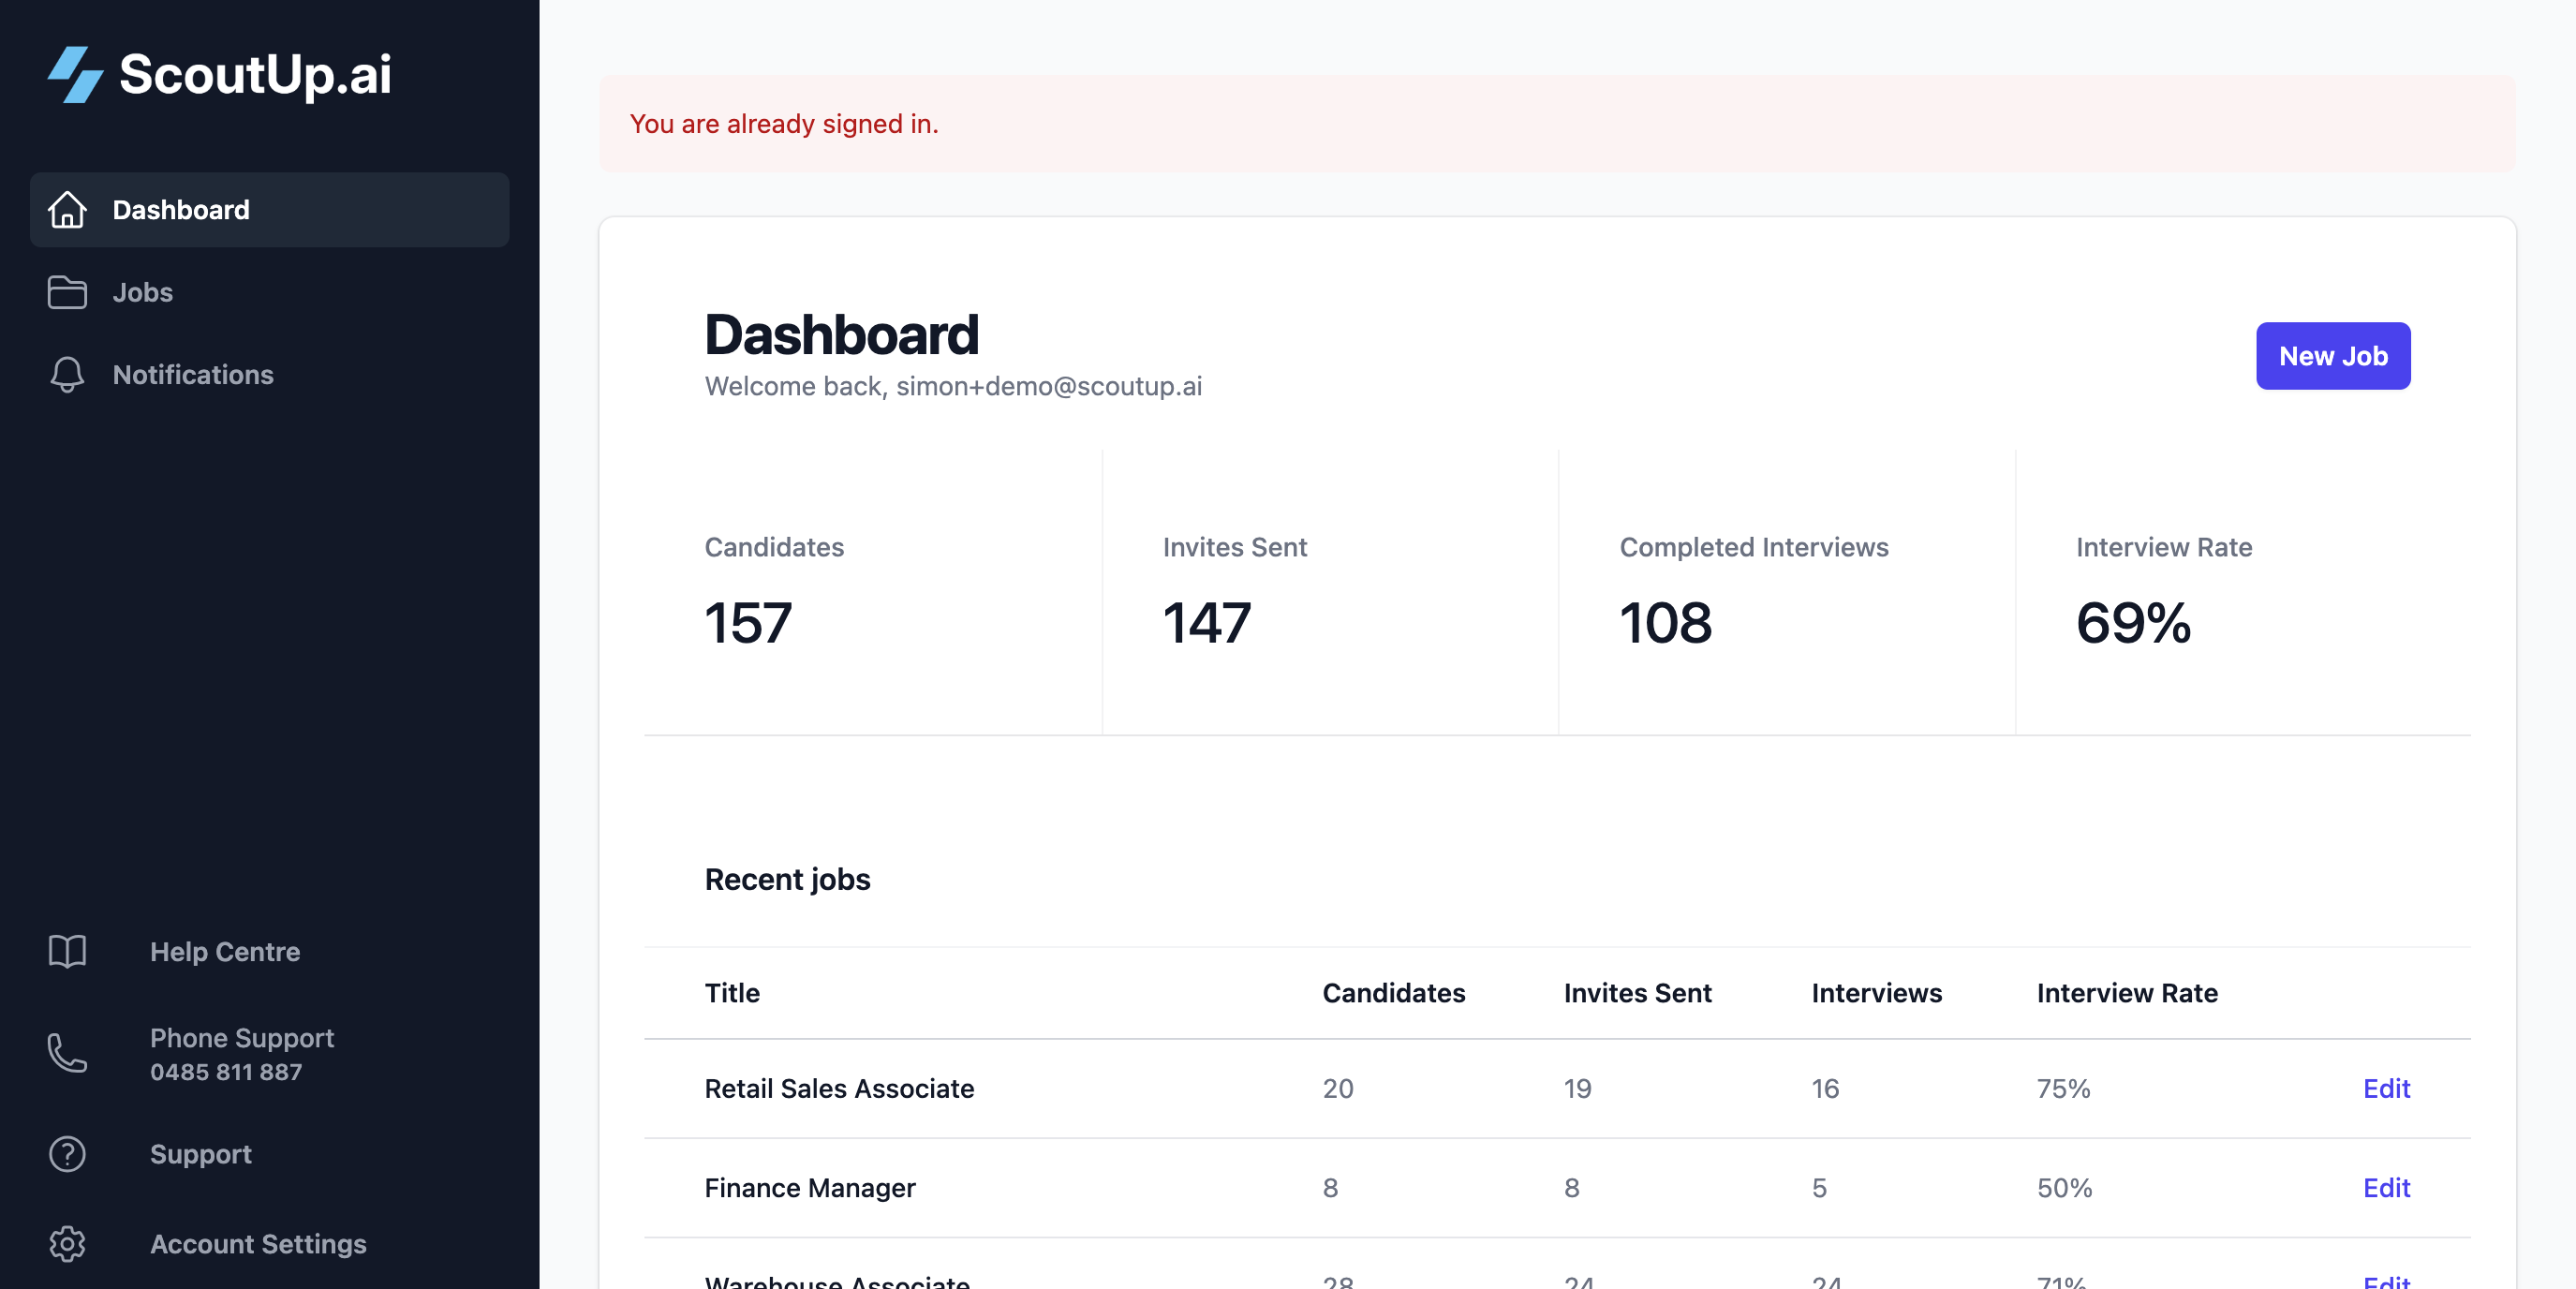
From your dashboard, click the New Job button to create a new position.
Job Details
The Job Details tab contains the basic information about the role. This information is used by the AI during interviews and appears in candidate communications.
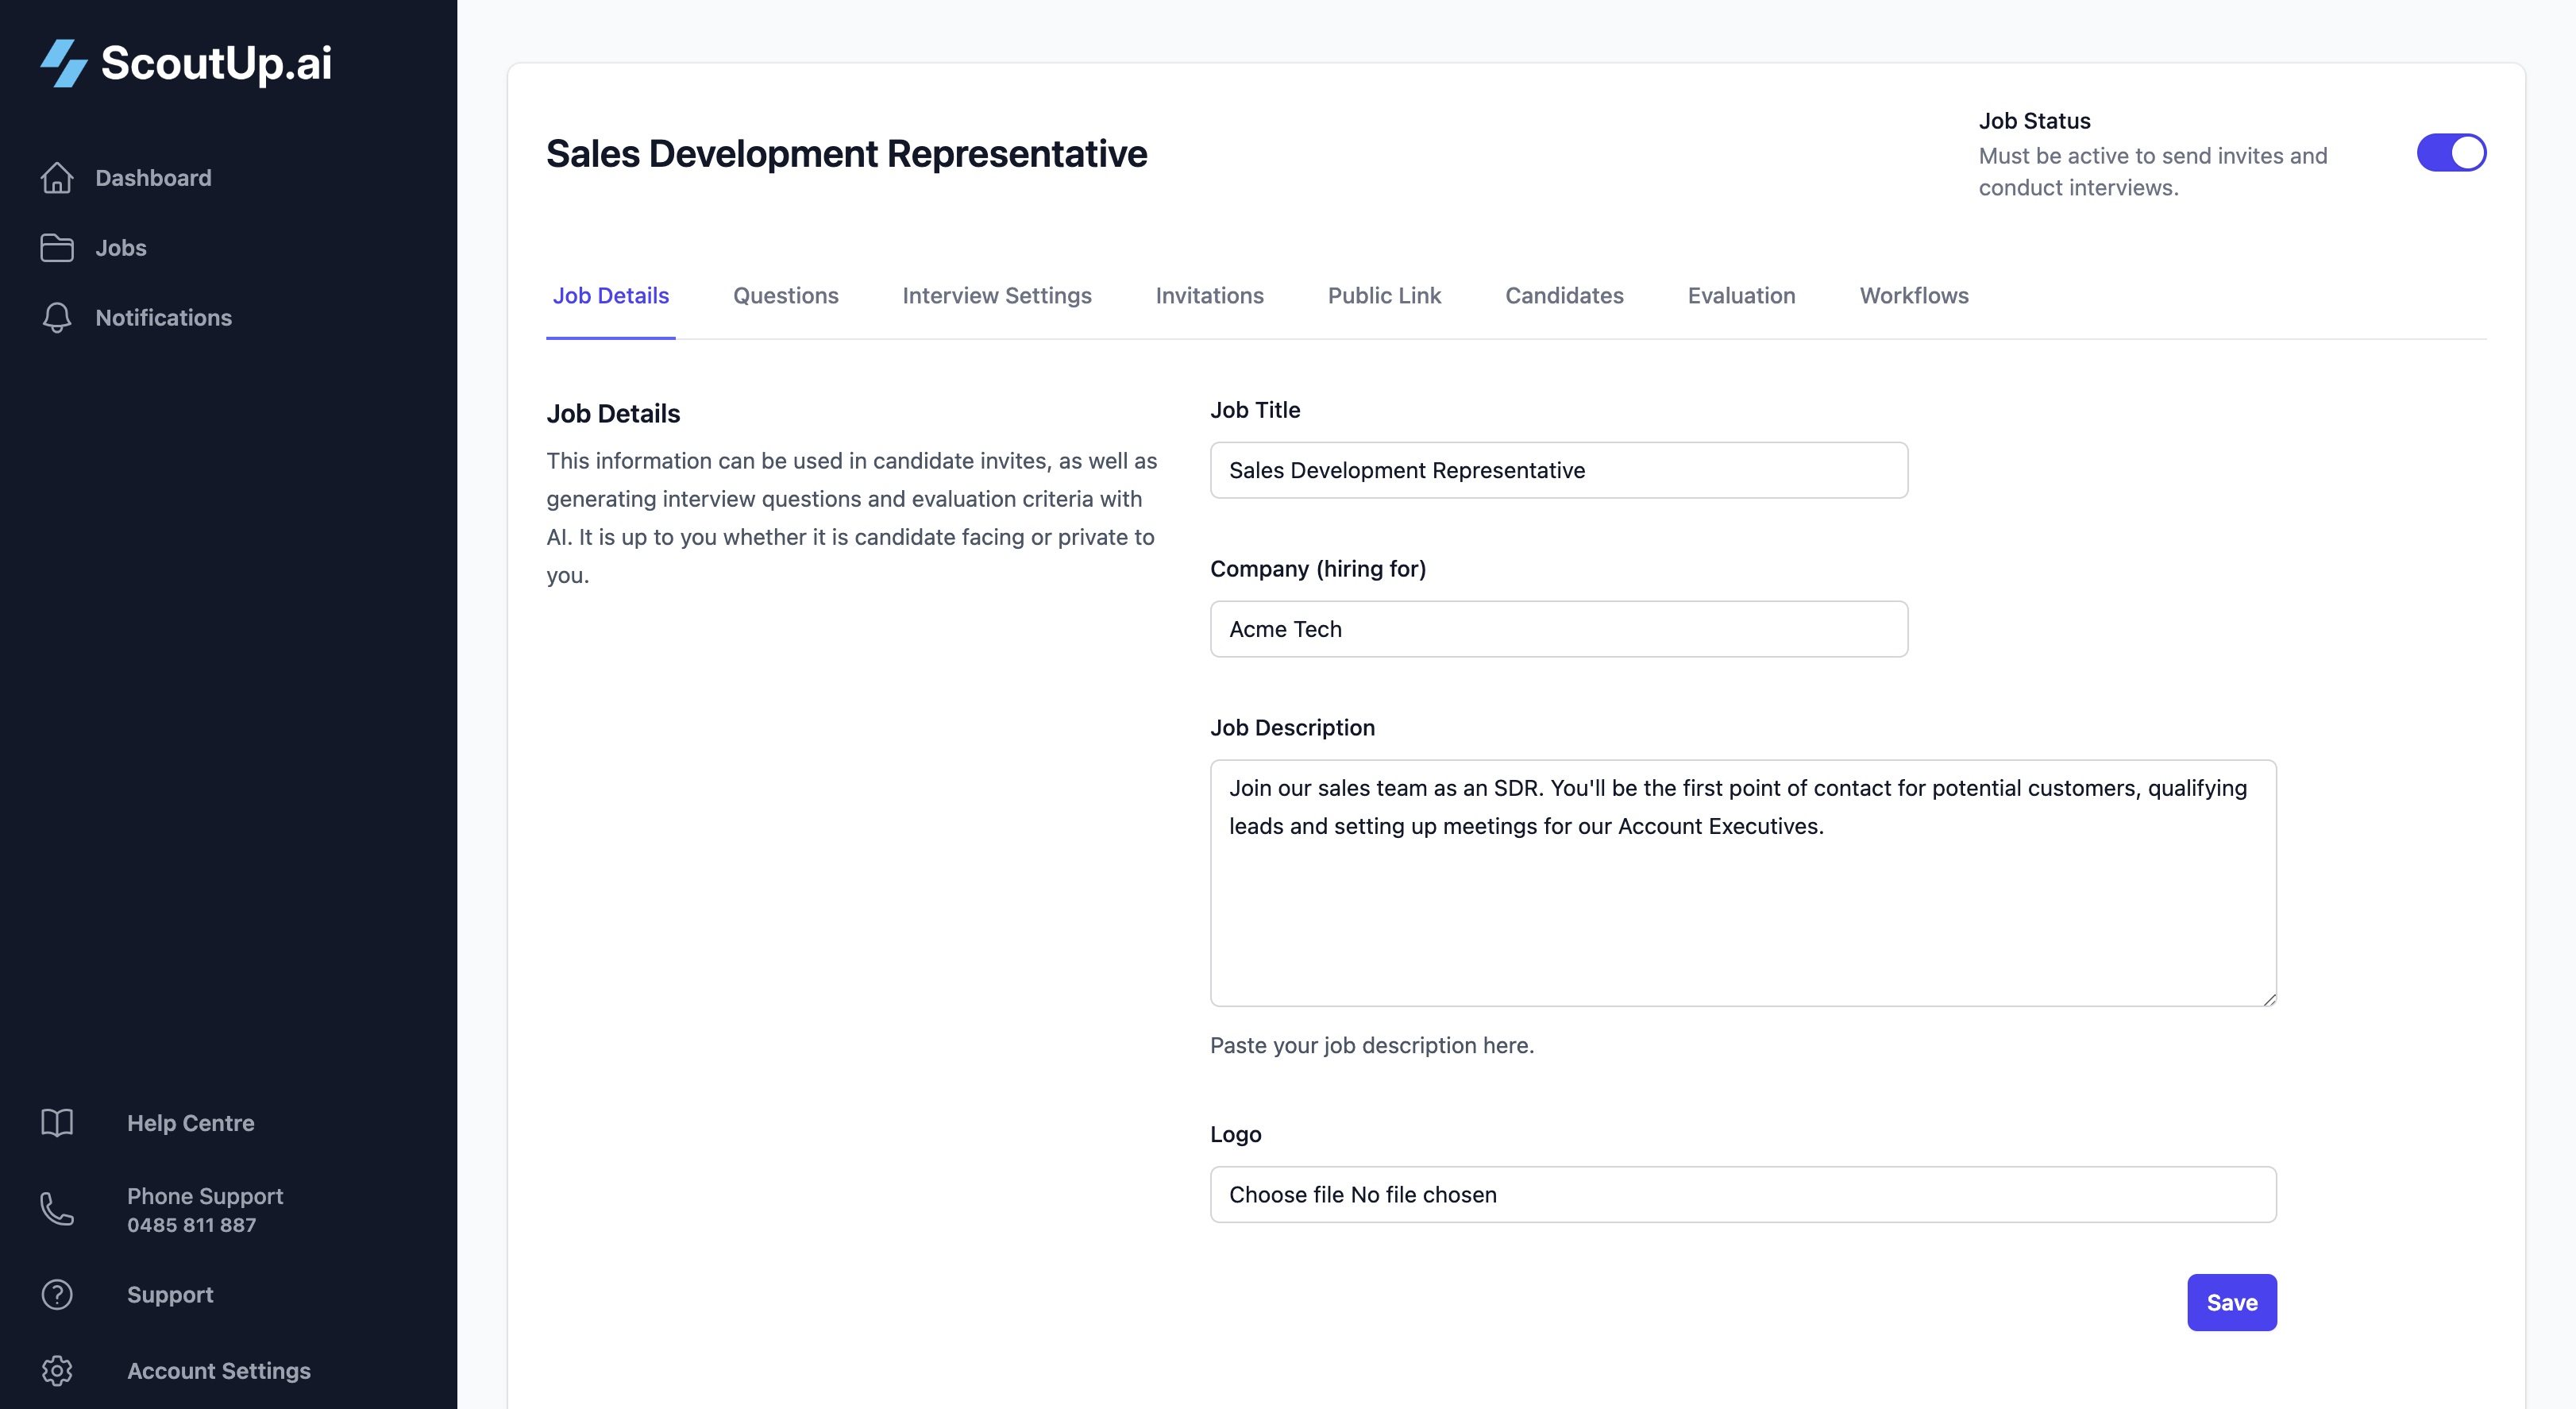
Job Title
The name of the position (e.g., "Senior Software Engineer", "Sales Representative"). This appears in:
- Invitation messages sent to candidates
- The AI's introduction during the call
- Public application pages
Company Name
Your company or the hiring company's name. The AI introduces itself as calling from this company during the interview.
Description
A summary of the role that gives the AI context. Include:
- Key responsibilities
- Required skills and experience
- Team or department context
- Any important details candidates should understand
The AI uses this description to understand the role and can reference it when answering candidate questions during the interview.
Logo
Upload a company logo to appear on public application pages. This helps candidates recognise and trust the opportunity. Recommended size: 200x200px or larger, PNG or JPG format.
Job Status
The status toggle in the top-right controls whether the job is Active or Inactive.
The job status toggle appears in the top-right corner of the job page.
| Status | What Happens |
|---|---|
| Active | Invitations can be sent, interviews can be conducted, public application links work, workflows run |
| Inactive | No new invitations, public links disabled, workflows paused. Interviews already in progress can still complete. |
Tip: Set a job to inactive when you've finished hiring or want to pause recruitment temporarily without losing your configuration.
JobAdder Integration
If you've connected JobAdder and imported jobs, you'll see a badge showing the JobAdder Job ID. These jobs automatically sync their details from JobAdder.
Next Steps
After setting up your job details, you'll want to:
- Configure interview questions — Set up what the AI asks candidates
- Define evaluation criteria — Tell the AI how to score responses
- Add candidates — Import or add people to interview